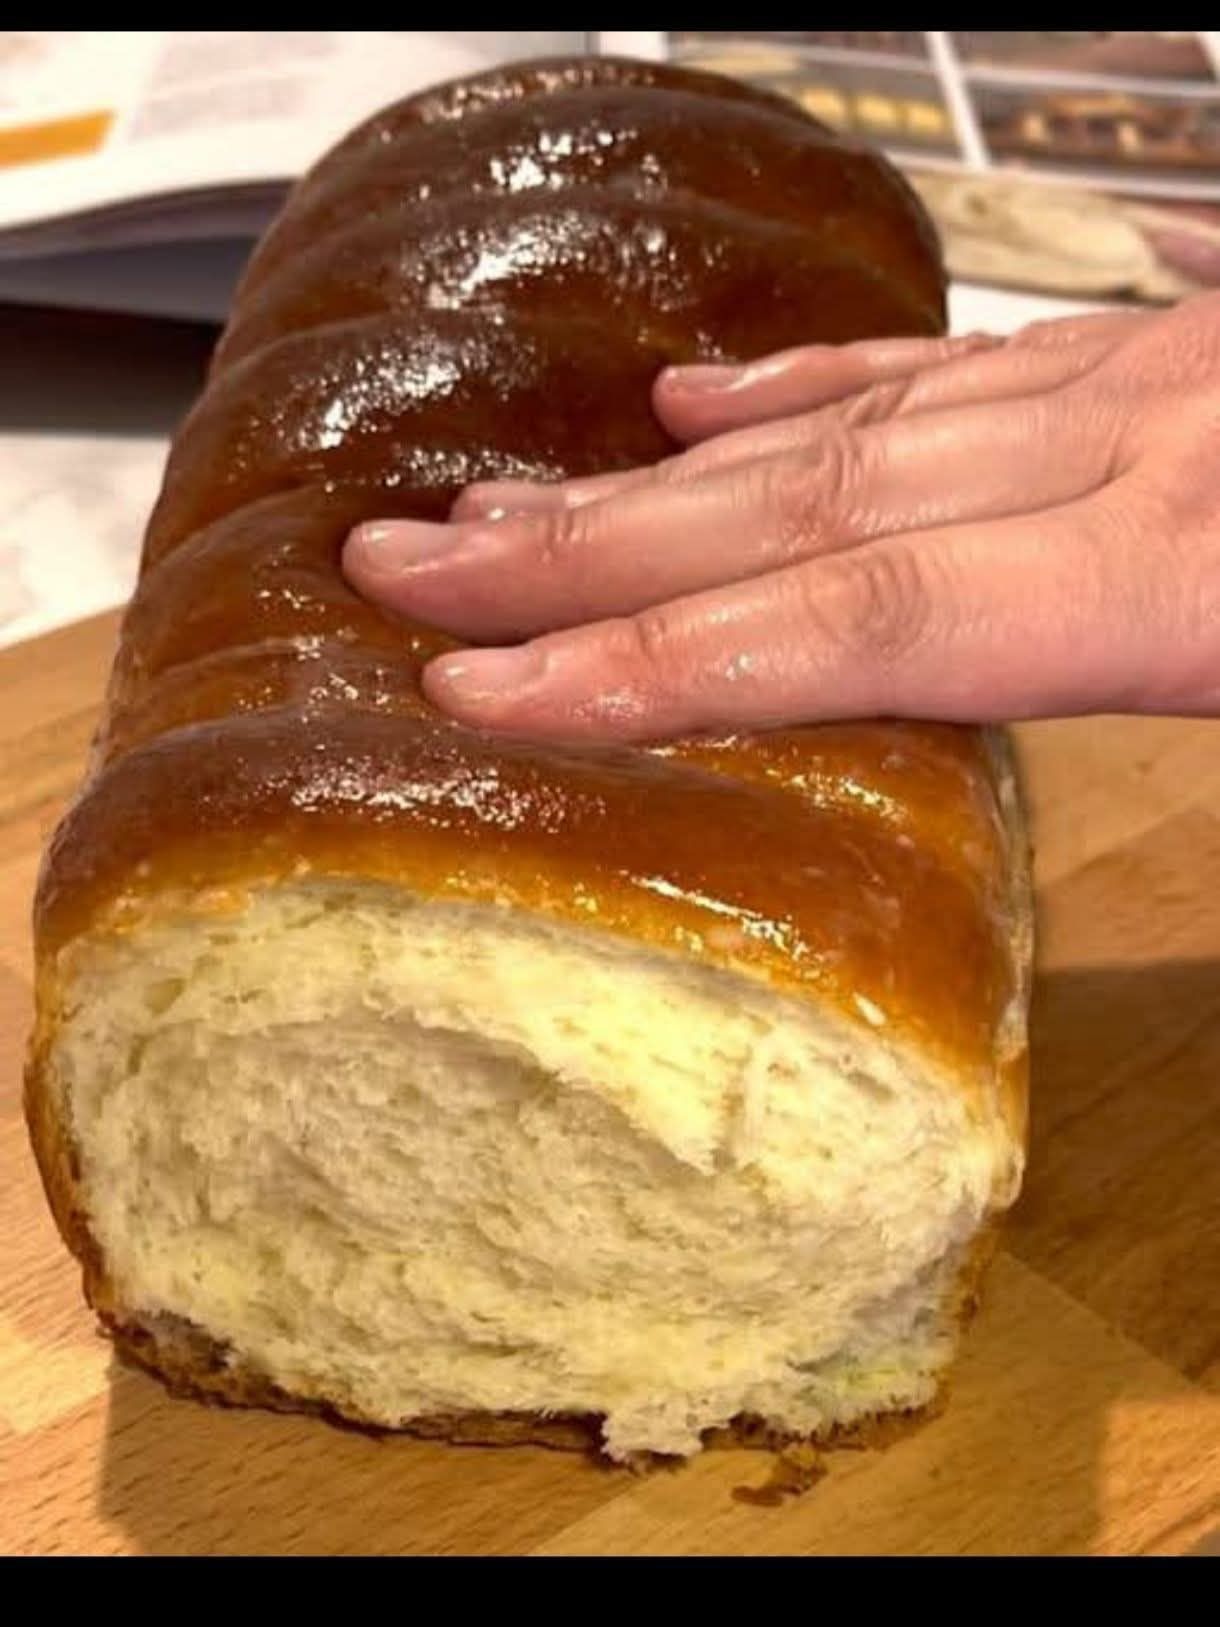
Wet your hands or spatula (to prevent sticking) and gently scrape the dough into the prepared pan. Smooth the top into an even layer.
Optionally, you can score the top with a sharp knife or razor blade for a professional look.
6. Second Rise:
Cover the pan loosely with greased plastic wrap and let it rise again in a warm place for 30-45 minutes. Meanwhile, preheat your oven to 350°F (175°C).
The dough should rise to just about the top of the pan.
7. Bake:
Gently brush the top with the egg wash for a shiny, golden crust.
Bake for 40-50 minutes, or until the top is deep golden brown and the internal temperature registers 190-200°F (88-93°C) on an instant-read thermometer. This is the most reliable way to know it’s done.
If the top is browning too quickly, tent it loosely with aluminum foil for the last 15 minutes of baking.
8. Cool:
This is vital! Remove the bread from the oven and let it cool in the pan for 10 minutes.
Then, transfer it to a wire rack to cool completely before slicing. Gluten-free bread continues to set as it cools, and slicing it warm will result in a gummy texture.
Tips for Success:
Weigh Your Ingredients: For the best and most consistent results in gluten-free baking, use a kitchen scale.
Don’t Over-Proof: Gluten-free bread doesn’t need as long to rise as wheat bread. Over-proofing can cause it to collapse.
Cool Completely: Resist the urge to slice it while warm. Waiting ensures a perfect, non-gummy crumb.
Storage: Store cooled bread in an airtight container or bag at room temperature for up to 3 days. For longer storage, slice it, wrap it well, and freeze it for up to 3 months. Toast slices directly from the freezer.
Enjoy your delicious, homemade gluten-free milk bread
